Shift Control
Special Instructions
The exact location varies depending on vehicle manufacturer.
Special Tools
- Basic hand tools
Component Identification
 |
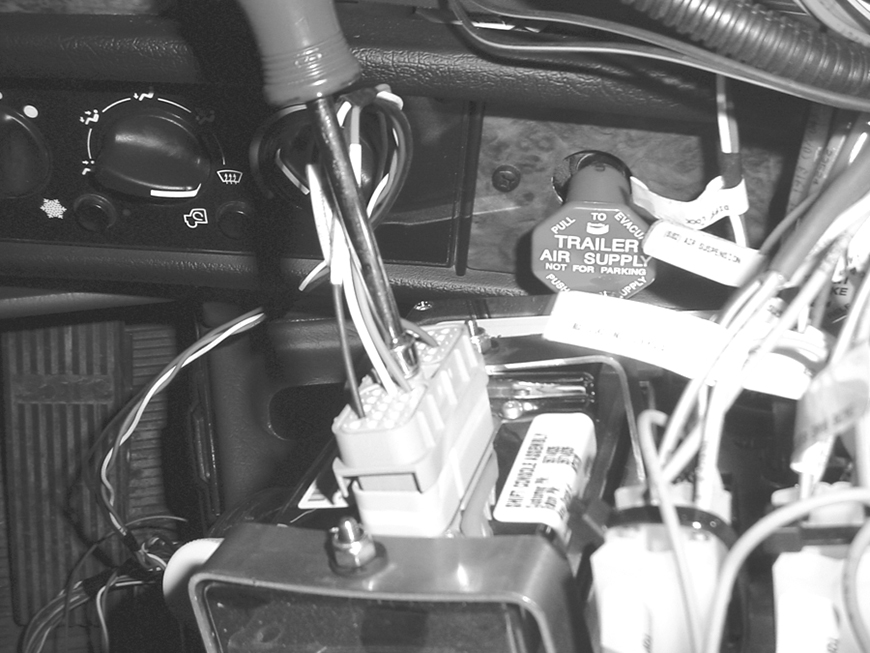
1. Nut 2. Washer 3. Push Button Shift Control 30-Way Connector 4. Backing Plate 5. Push Button Shift Control |
Removal
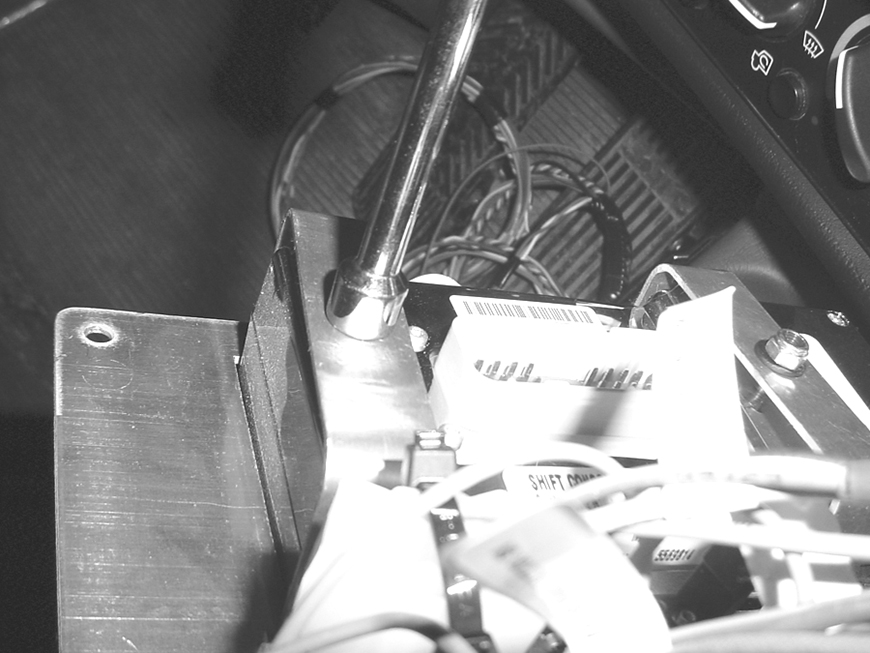
Using a 1/4” socket, loosen the retaining bolt and disconnect the 30-way connector from the back of the Shift Control.

Using a 11/32” wrench, remove the 2 nuts and lock washers from the back of the Shift Control and remove the Shift Control.
Note: Shift Control location and use varies with each truck.

Installation
Install the Shift Control in the mounting location. Then, using a 11/32” wrench, install the 2 lock washers and nuts and tighten to 14-16 lb-in. (18–21 Nm).

Using a 1/4” wrench, reconnect the 30-way connector to the back of the Shift Control and tighten to 10 +/- 3 lb-in. [13.5 +/- 4 Nm]
