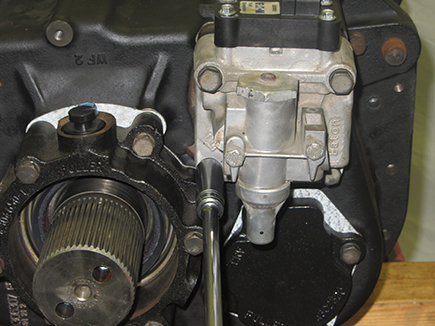
MHP/MXP/VHP/VXP Range Cylinder
Special Instructions
On 9-series UltraShift PLUS transmissions the Auxiliary section requires R&R prior to Range Cylinder removal. Damage to internal components will result if Auxiliary Section is not properly removed prior to Cylinder removal.
During installation, apply Eaton® Lubricant or equivalent to Shift Cylinder Assembly and insert valve O-Rings so a film covers the entire surface of each O-Ring.
Special Tools
Typical Service Tools
Component Identification
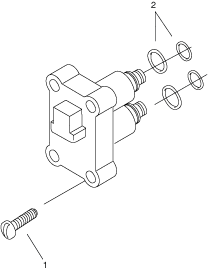 |
1. Hex Flange Head Screw 2. O-Rings |
Range Cylinder Disassembly
On the Range Cylinder Cover, remove cap screws, cover, and gasket
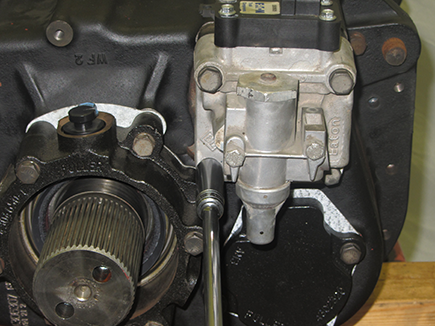
Remove the 15/16” nut that secures the range yoke.
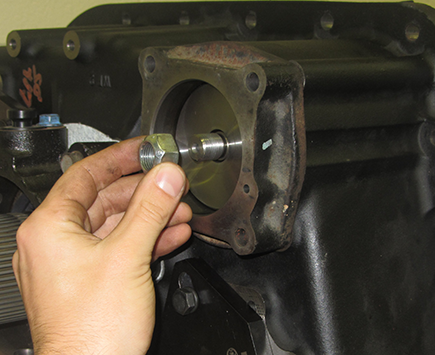
Remove the Range Piston from the cylinder bore
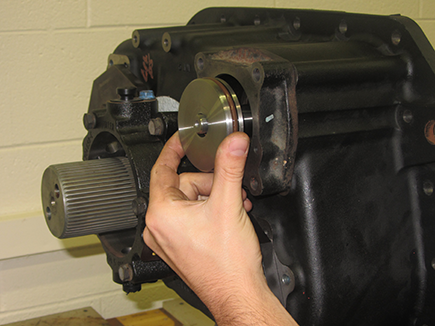
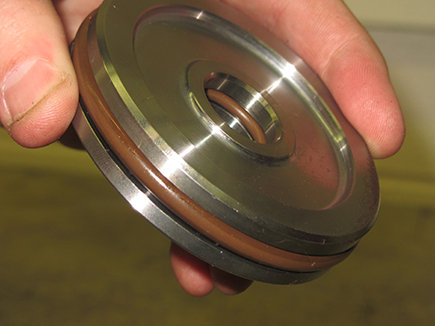
Inspect the Range Piston O-Rings for damage. Remove and replace if damage is present.
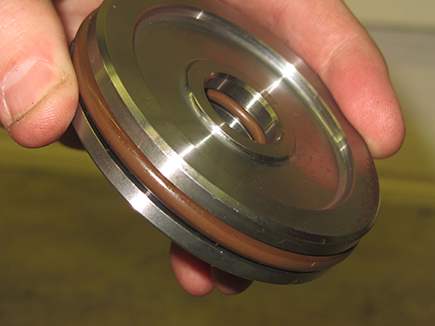
Remove the 2 cap screws that secure the Range Yoke Bar to the Range Yoke.
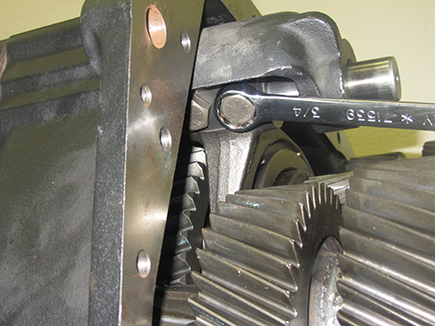
Remove the Range Yoke Bar.
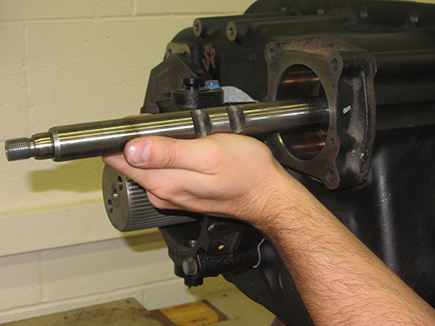
Remove the Range cylinder housing
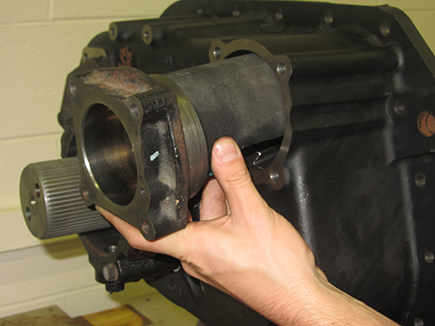
Inspect the O-ring inside the Range Cylinder Housing, remove and replace if damaged.
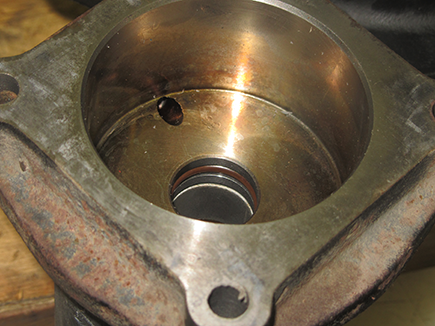
Range Cylinder Assembly
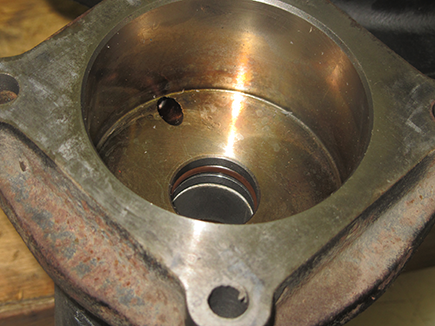
Install the small O-Ring in the cylinder housing bore
Install the piston O-rings on the piston I.D. and O.D.
Install a new gasket on the Range Cylinder Housing Mounting Surface
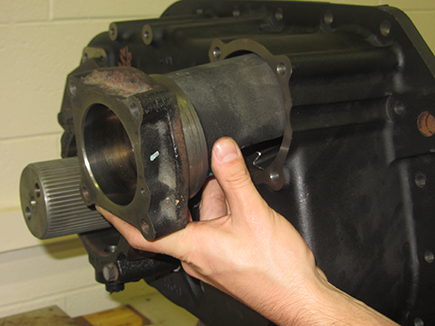
Install the Cylinder housing into the Auxiliary Case Housing.
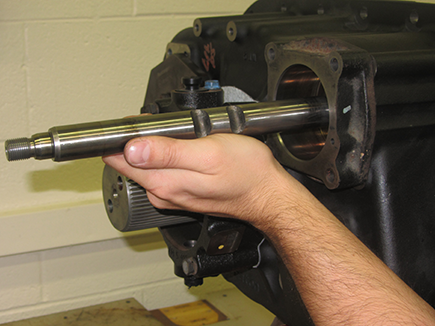
Install Range Yoke Bar from the rear of the Auxiliary case.
Note: Ensure that the Yoke Bar passes through the eye of the Yoke fork.
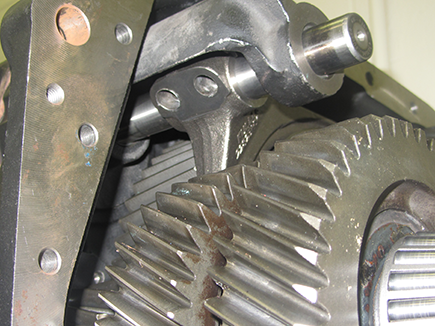
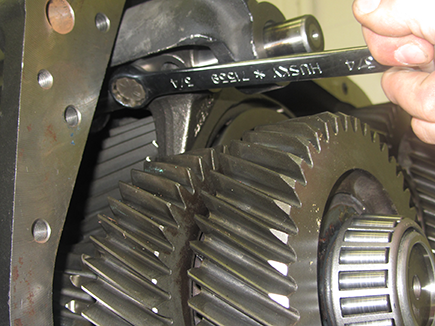
Align the 2 groves on the Yoke Bar and install the 2 retaining bolts through the bores on the Range Yoke Fork.
Insert the piston, pushing it as far back as far as it will go.
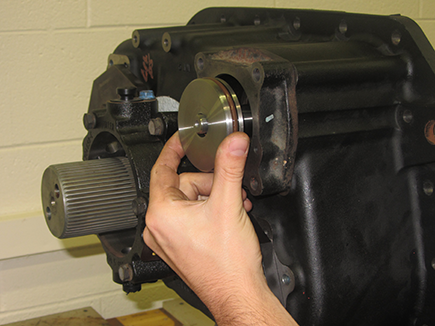
Secure the piston with the retaining nut, torque to 70-85 lb-ft (94.91-115.24 N•m).
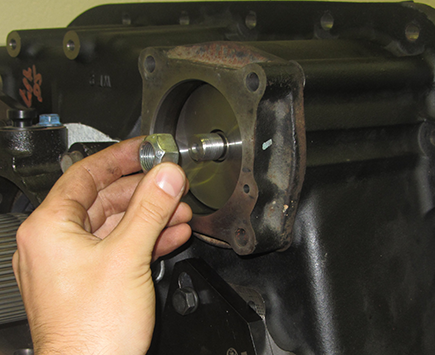
Install a new gasket on the Cylinder Housing Cover mounting surface. Install the Range cylinder cover
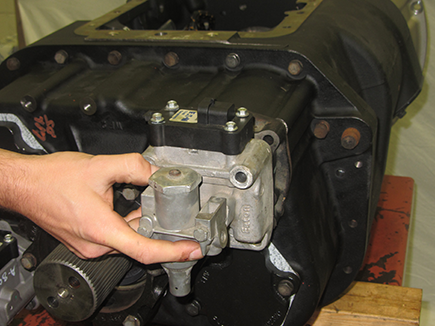
Apply Eaton Sealant #71205 or equivalent to the retaining cap screws and torque to 20-25 lb-ft (27.12-33.90 N•m)
