Range Cylinder LAS/VAS Model
Special Instructions
None
Special Tools
None
Component Identification
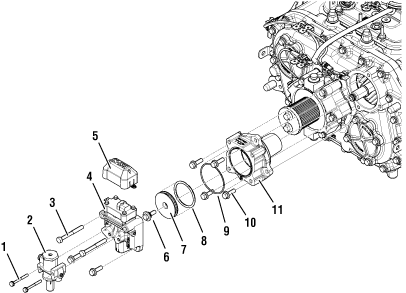 |
1. Air Filter/Regulator Bolts (x2) 2. Air Filter/Regulator 3. Range Cylinder Cover Bolts (x4) 4. Range Cylinder Cover and Range Solenoid Valve 5. Range Solenoid Valve Cover 6. Range Cylinder Piston Bolt 7. Range Cylinder Piston 8. Range Cylinder Piston O-ring 9. Range Cylinder O-ring 10. Range Cylinder Bolts (x4) 11. Range Cylinder |
Range Cylinder Disassembly
Drain the air on truck before disconnecting the air supply line to the Air Filter Regulator.
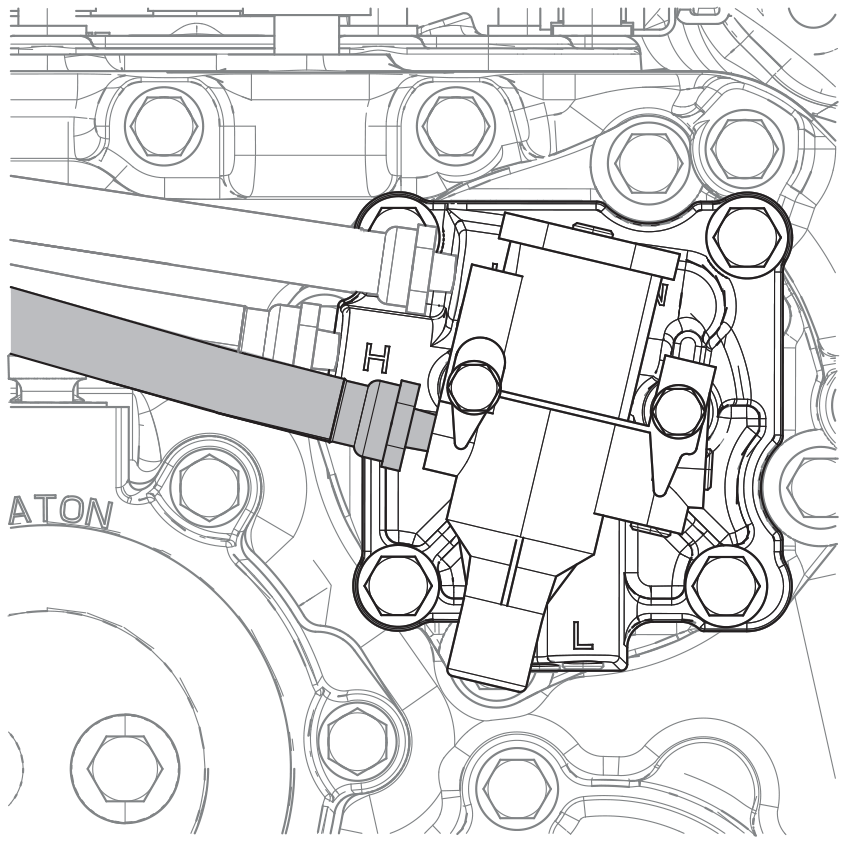
Disconnect the air lines and mark lines that go to the Range Cylinder low and high side fitting.
Remove the Air Filter Regulator
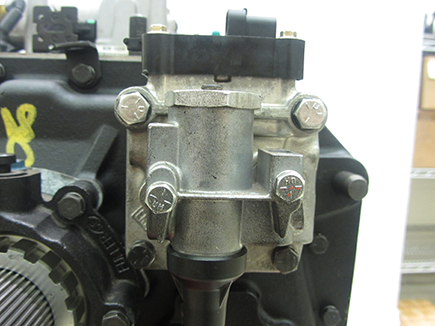
Disconnect the Transmission Harness from the Range Cylinder Actuator.
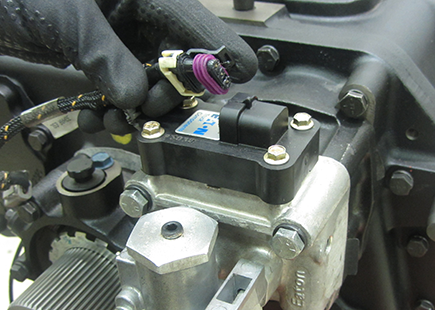
Remove the 4 bolts that hold the range cover and range cylinder to the auxiliary case. Remove the cover.
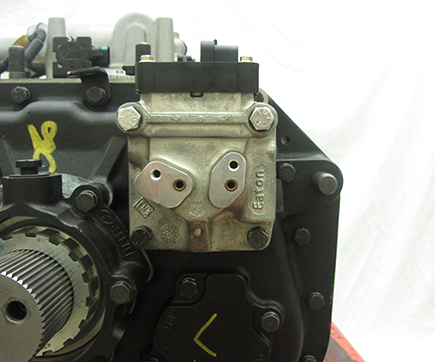
Remove the retaining bolt for the Range Cylinder Piston.
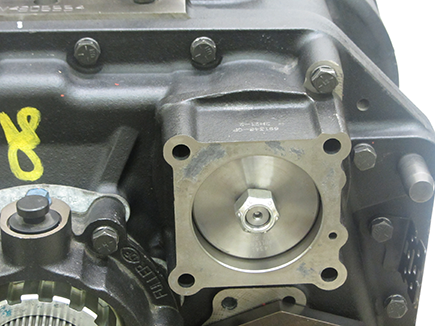
Remove the Range Cylinder and piston from the Auxiliary Case.
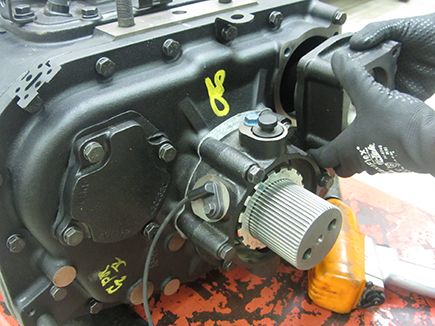
Remove the piston from the Range Cylinder.
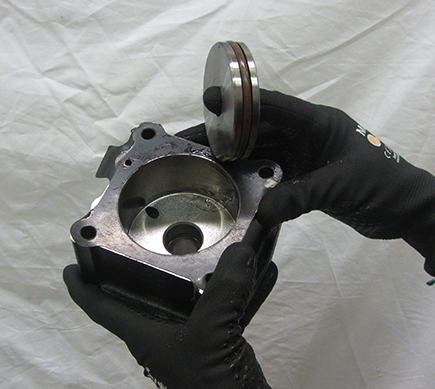
Inspect for cut O-rings, rust or debris in the cylinder, scoring, and blocked air passages.
Range Cylinder Assembly
Install a new gasket on the Range Cylinder to seal against the Auxiliary Case. Clean off any remaining debris from the old gasket.
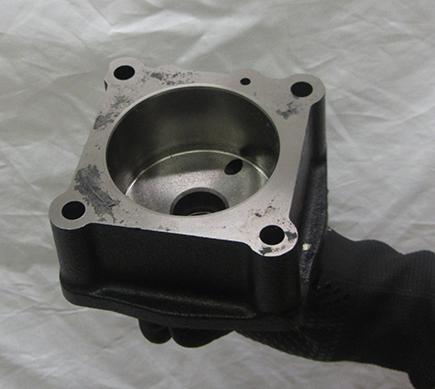
Install the Range Cylinder in the bore. Make sure the cylinder is positioned so that the concave corner is in the top right. This allows for proper access to the bolt that secures the Auxiliary Case to the Main Case.
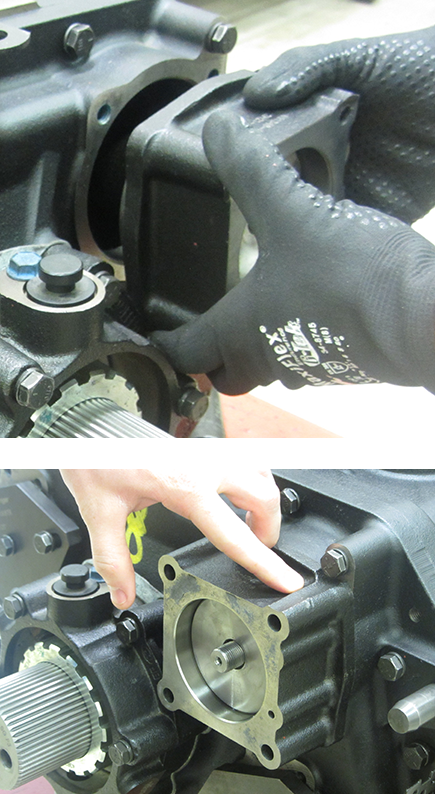
Install a new O-ring on the Range Piston and Range Yoke Bar. Lube with silicone.
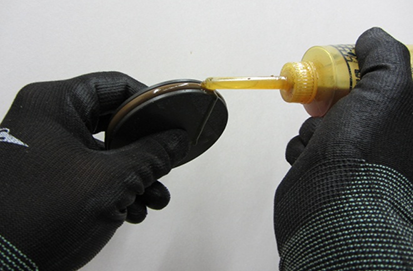
Install the Range Piston into the cylinder and onto the yoke bar.
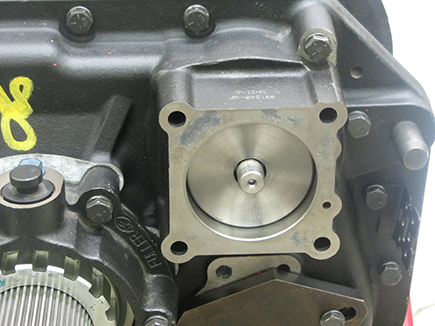
Torque the bolt 35–45 lb-ft.
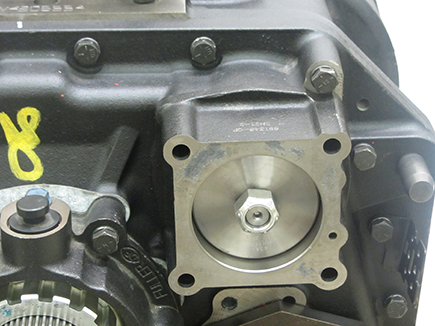
Install a new gasket between the Range Cylinder and the Range Cylinder Cover.
Note: Verify that the small air passage is located at the bottom to align properly with the cover.
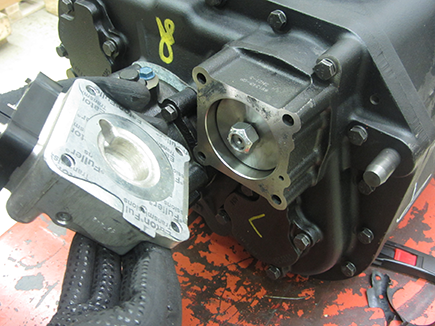
Install the Range Cylinder Cover and 4 bolts. Torque bolts 30–35 lb-ft.
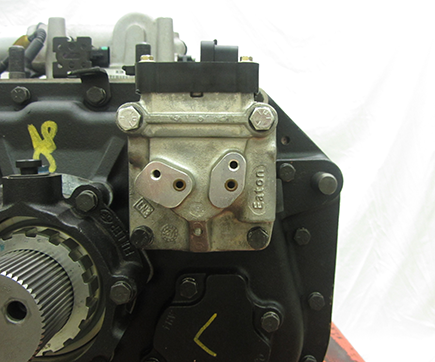
Reconnect the Transmission Harness to the Range Cylinder Actuator.
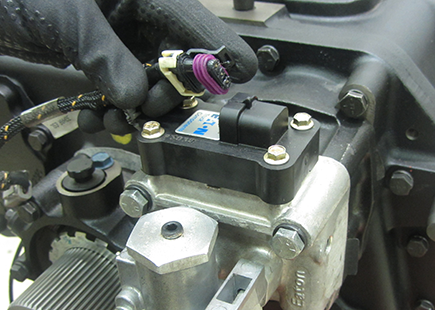
Install the Air Filter Regulator and torque bolts 8–12 lb-ft.
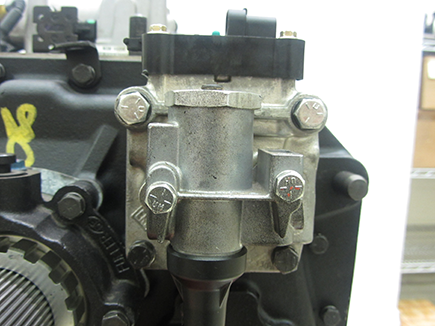
Install the air lines to the Range Cover as marked and connect the air supply lines to the Air Filter Regulator.
Verify all the work is done correctly. Air-up the truck and verify operation of the Transmission Range System.