Shift Bar Housing
Special Instructions
None
Special Tools
- Gasket Sealant (Loctite 5810F RTV or 5188 anaerobic sealant)
Component Identification
 |
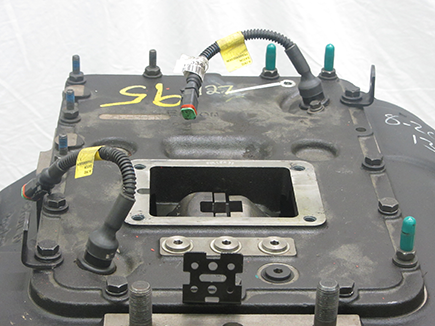
1. X-Y Shifter 2. Shift Bar Housing |
Shift Bar Housing Removal
Remove the 16 cap screws and studs fastening the Shift Bar Housing to the Transmission Case. Remove the Shift Bar Housing.

Shift Bar Housing Installation - Cast Iron
Ensure all Transmission Main Case Main Shaft Sliding Clutches are in their Neutral position.

Ensure that the Main Case and Shift Bar Housing gasket surfaces are clean and free of debris.
Position a new Shift Bar Housing gasket on the surface of the main case.
Install the Shift Bar Housing onto the Transmission Main Case.
Install the 16 cap screws that fasten the Shift Bar Housing to the Transmission Main Case. Torque cap screws to 35–45 lb-ft.

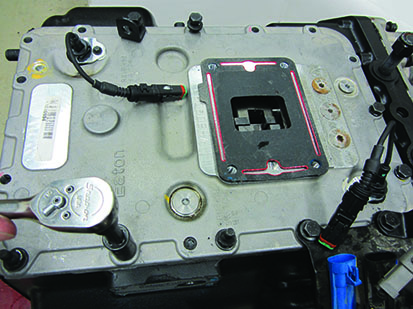
Shift Bar Housing Installation - Aluminum
Ensure all Transmission Main Case Main Shaft Sliding Clutches are in their Neutral position.

Ensure that the Main Case and Shift Bar Housing gasket surfaces are clean and free of debris.
NoticeApply gasket sealant with a bead width of 1/8" to the Shift Bar Housing sealing surface following the pattern below.
Note: Parts must be assembled within 30 minutes of applying sealant.

Install the Shift Bar Housing onto the Transmission Main Case.
Install the 16 cap screws that fasten the Shift Bar Housing to the Transmission Main Case. Torque cap screws to 35–45 lb-ft.
