Fluid Pressure Sensor (FPS)
Special Instructions
The Fluid Pressure Sensor can be removed and installed with the transmission in-vehicle.
Special Tools
None
Component Identification
 |
1. Fluid Pressure Sensor (x1) |
Create a Service Activity Report
Note: If not already created and sent.
Key on with engine off.
Connect ServiceRanger and create a Service Activity Report.
Select “Send to Eaton” (internet connection required)
Disconnect ServiceRanger.
Key off.
Remove the Fluid Pressure Sensor (FPS)
Unlatch and disconnect the OEM 3-Way Transmission Fluid Pressure Sensor (FPS) Connector.
Note: There are two possible Main Housing FPS port designs. FPS removal and installation have the same procedure for both designs.
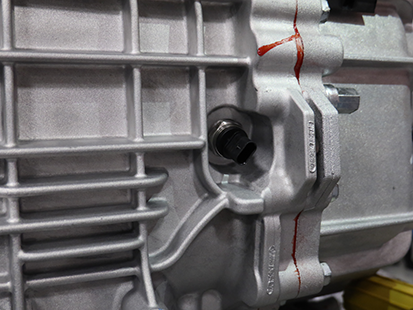
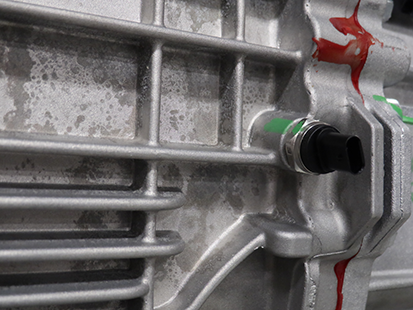
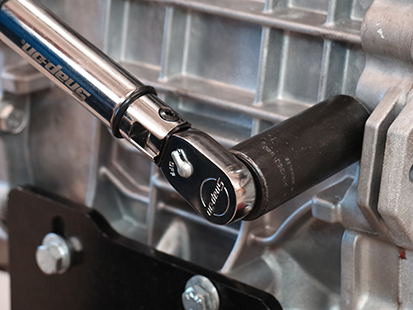
Remove the Transmission FPS (24 mm) threaded into the main housing.
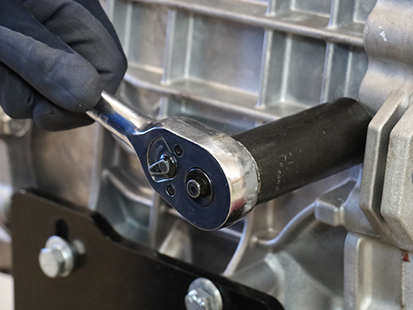
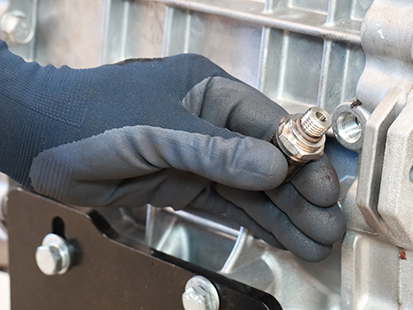
Install the Fluid Pressure Sensor (FPS)
Inspect the Fluid Pressure Sensor (FPS) and O-ring for damage. If damaged, replace the FPS; O-ring is serviced with sensor.
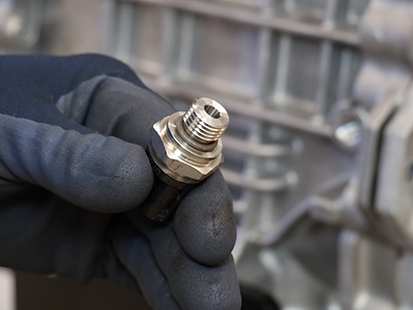
Install the Transmission FPS (24 mm) into the Main Housing and torque to 19-23 Nm (14-17 lb-ft).
Note: There are two possible Main Housing FPS port designs. FPS removal and installation have the same procedure for both designs.
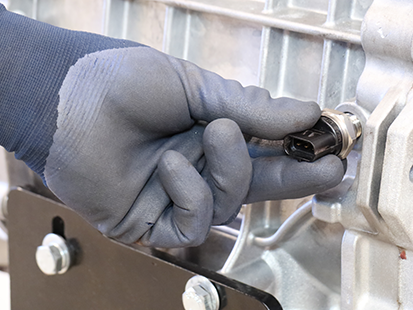
Connect and latch the OEM 3-Way Transmission FPS Connector.