Range Valve
Special Instructions
The Range Valve may be difficult to remove from the Transmission Housing because of the O-rings.
Special Tools
- Basic hand tools
Component Identification
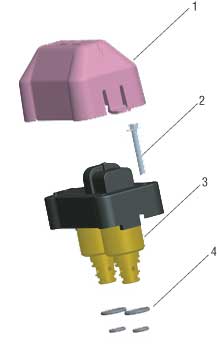 |
1. Protective Cover (Optional) 2. Cap Screw 3. Valve 4. O-rings |
Range Valve Removal
If equipped, remove the Protective Cover by pulling up on the release tab.
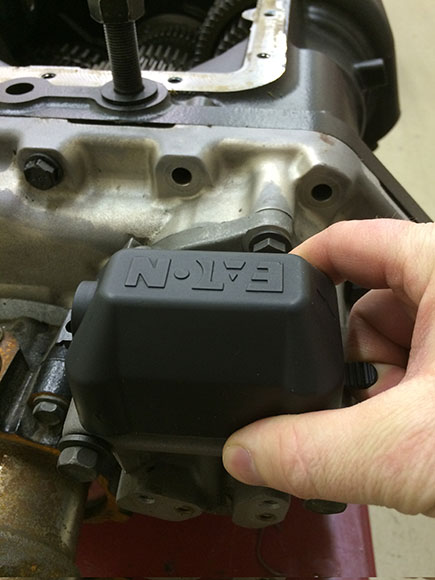
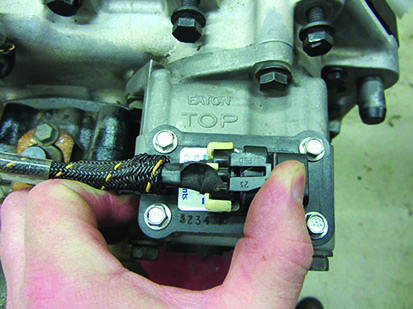
Relieve system air pressure by draining air tanks on the vehicle. When air pressure has been relieved, disconnect the Transmission Harness from the Range Valve.
Note: The harness should be removed from the Range Valve cable tie prior to removing the cap screws.
Using a 5/16” socket, remove the 4 mounting cap screws from the Range Valve.
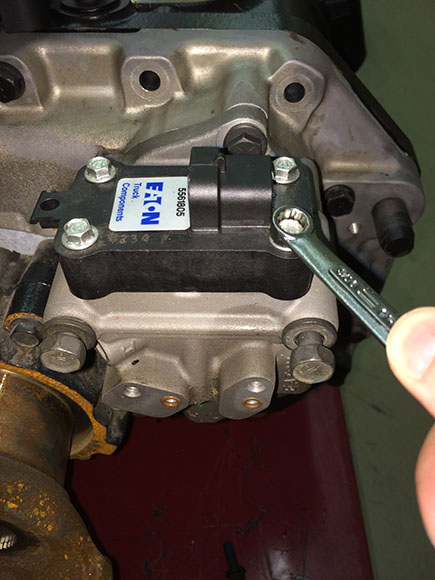
Lift and remove the Range Valve from the housing.
Caution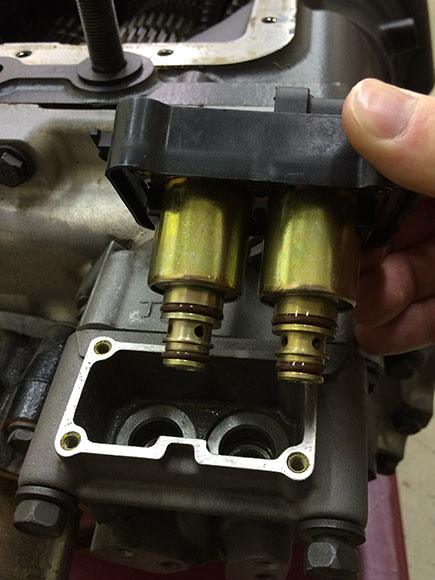
Range Valve Installation
Install and push the Range Valve down into the housing.

Using a 5/16” socket, install the 4 Range Valve mounting cap screws and tighten to 21–27 lb-in (2.3–3.0 N•m) using a cross pattern.

Reconnect the Transmission Harness to the Range Valve and close all air tanks drains.
Note: Install the Range Harness back into the cable tie on the Range Valve.

If equipped, install the Protective Cover. Push the cover down by hand until it snaps into place.
