Transmission Control Module (TCM)
Special Instructions
- The TCM can be removed and installed with transmission in-vehicle.
- If installing a replacement Transmission Assembly and/or MTM, after transmission is installed into vehicle, go to Configure Transmission Control Module (TCM) .
- If installing a new replacement TCM, go to New Replacement Transmission Control Module (TCM) Service Procedure.
Special Tools
- ServiceRanger
Component Identification
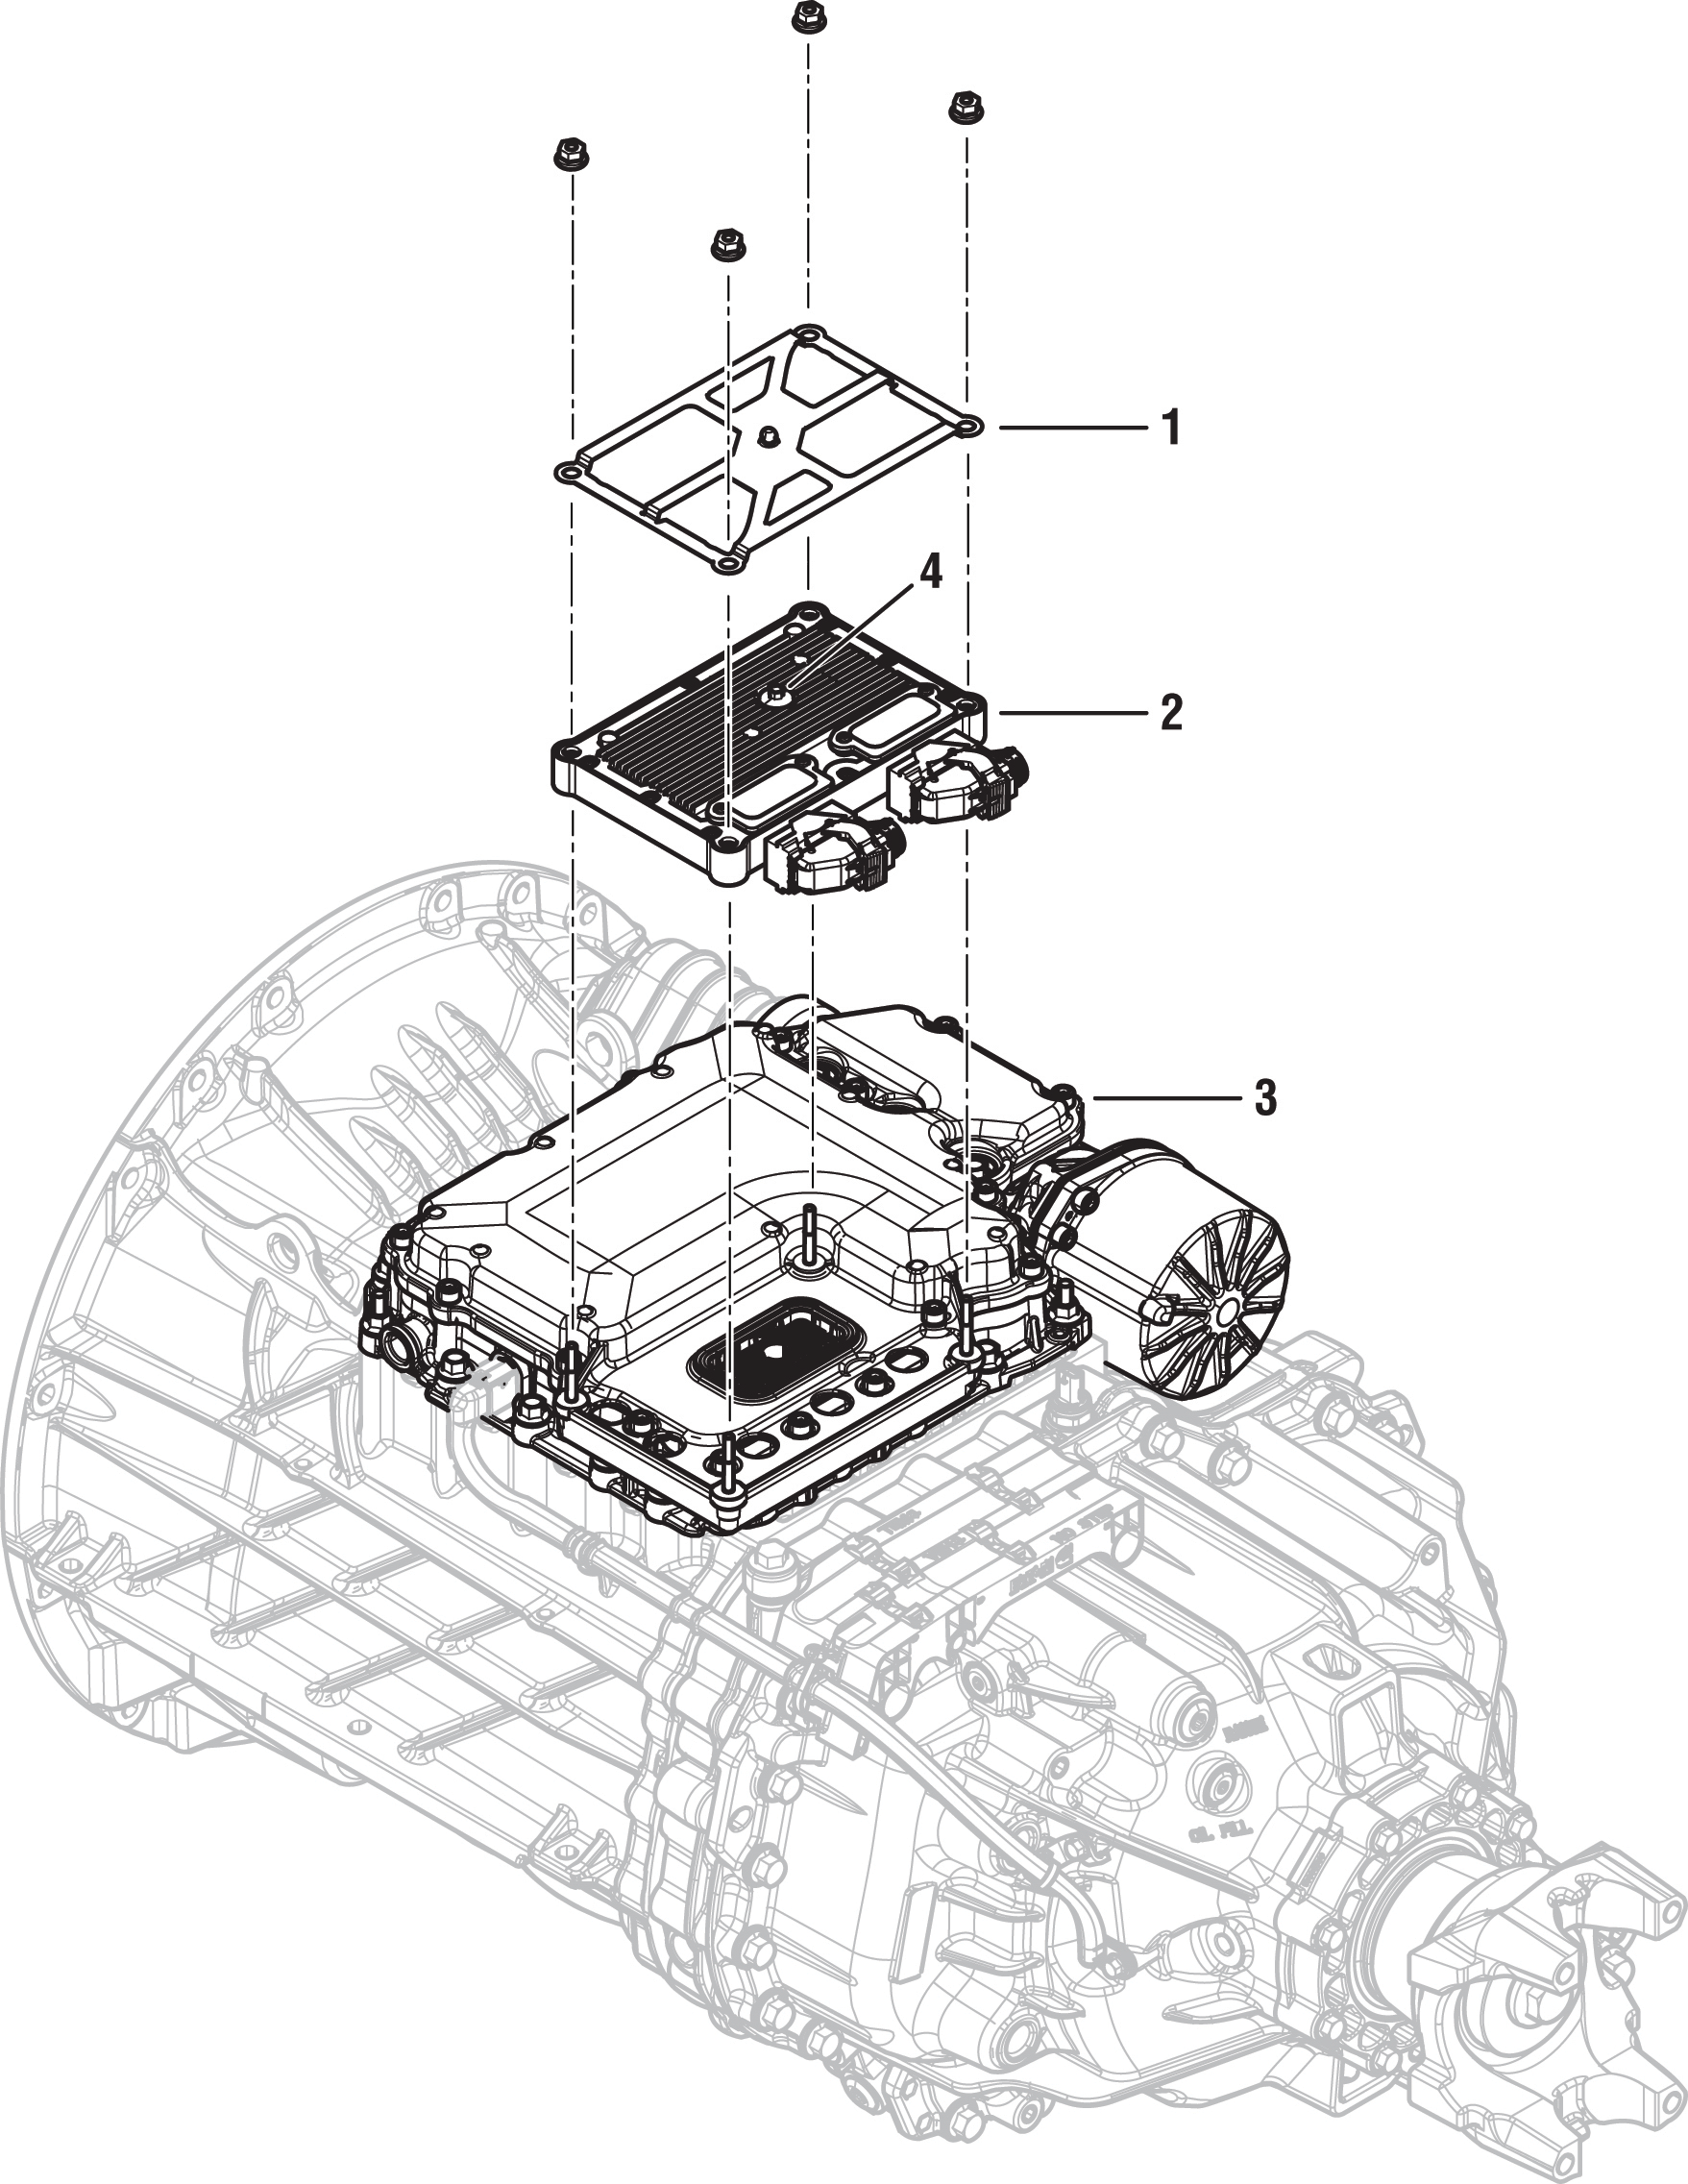 |
1. Transmission Control Module (TCM) Cover - 10 or 13 mm Nuts 2. Transmission Control Module (TCM) 3. Mechatronic Transmission Module (MTM) 4. Transmission Control Module (TCM) Jackscrew - 7 mm |
Create a Service Activity Report
Note: If not already created and sent.
Key on with engine off.
Connect ServiceRanger and create a Service Activity Report.
Select “Send to Eaton” (internet connection required)
Disconnect ServiceRanger.
Key off.
Disconnect the Transmission Control Module (TCM)
Disconnect the negative battery cable.
NoticeDisconnect the 20-Way TCM Vehicle and Body Harness Connectors from the TCM by depressing the lock tab and lifting up on the lever.
Notice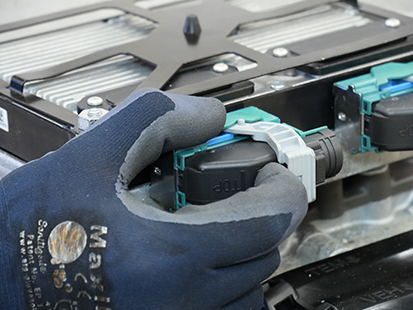
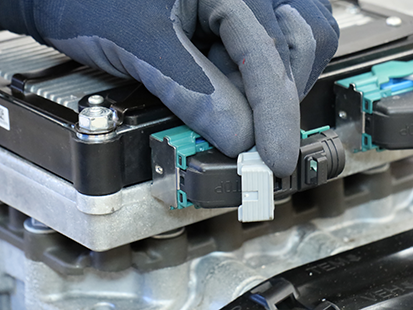
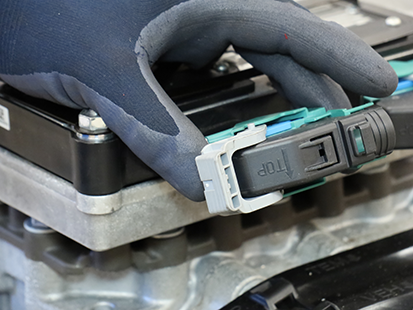
Remove the Transmission Control Module (TCM)
Unscrew the 4 TCM Cover nuts and remove TCM Cover.
Note: TCM Cover nuts are 10 or 13 mm.
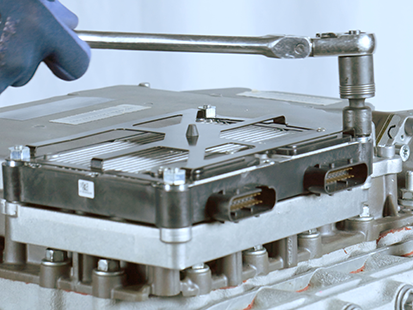
Unscrew the TCM 7 mm Jackscrew. Lift and remove the TCM from the MTM.
Notice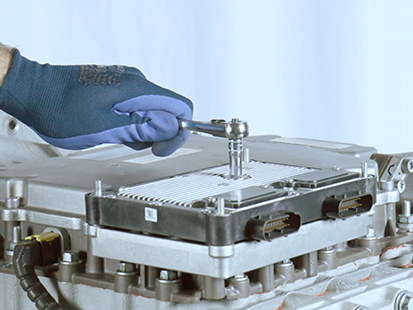
Inspect the TCM Seal for damage.
Notice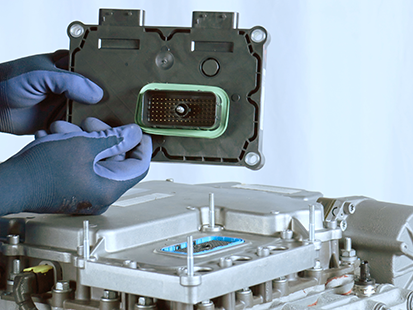
If replacing the TCM, transfer the TCM Seal to the new TCM.
Install the Transmission Control Module (TCM)
Note: TCM can be installed with transmission in-vehicle.
Install the TCM Seal on the 74-Way Harness Connector.

Align the TCM to the 74-Way Harness Connector and TCM studs, then install the TCM.
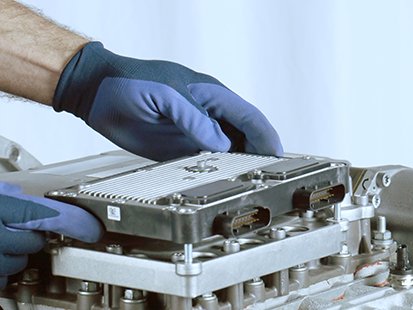
Torque the TCM 7 mm Jackscrew to 3.0-4.0 Nm (26.6-35.4 lb-in).
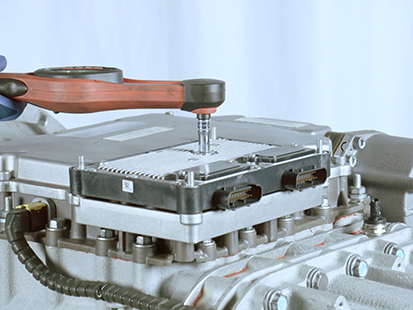
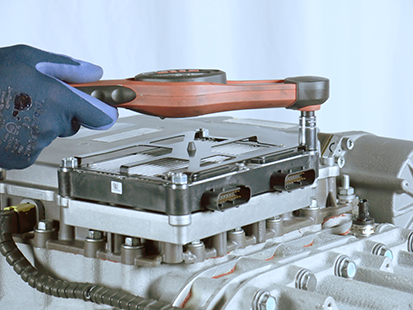
Install the TCM Cover over the 4 TCM studs and torque the 4 TCM Cover Nuts to 8.8-10.4 Nm (78-92 lb-in) in a criss-cross pattern.
Note: TCM Cover nuts are 10 or 13 mm.
Connect the Transmission Control Module (TCM).
Connect the 20-Way TCM Vehicle and Body Harness Connector to the TCM by pressing the lever into the locked position.


Connect the negative battery cable.
Determine next steps.
- If re-installing original equipment TCM with transmission in vehicle, process complete.
- If re-installing original equipment TCM with transmission removed from vehicle, go to Remove the Linear Clutch Actuator (LCA) and Reset and Install Linear Clutch Actuator (LCA).
Configure Transmission Control Module (TCM)
Enter current transmission serial number and MTM serial number into new replacement TCM.
Record transmission serial number.

Record MTM serial number.
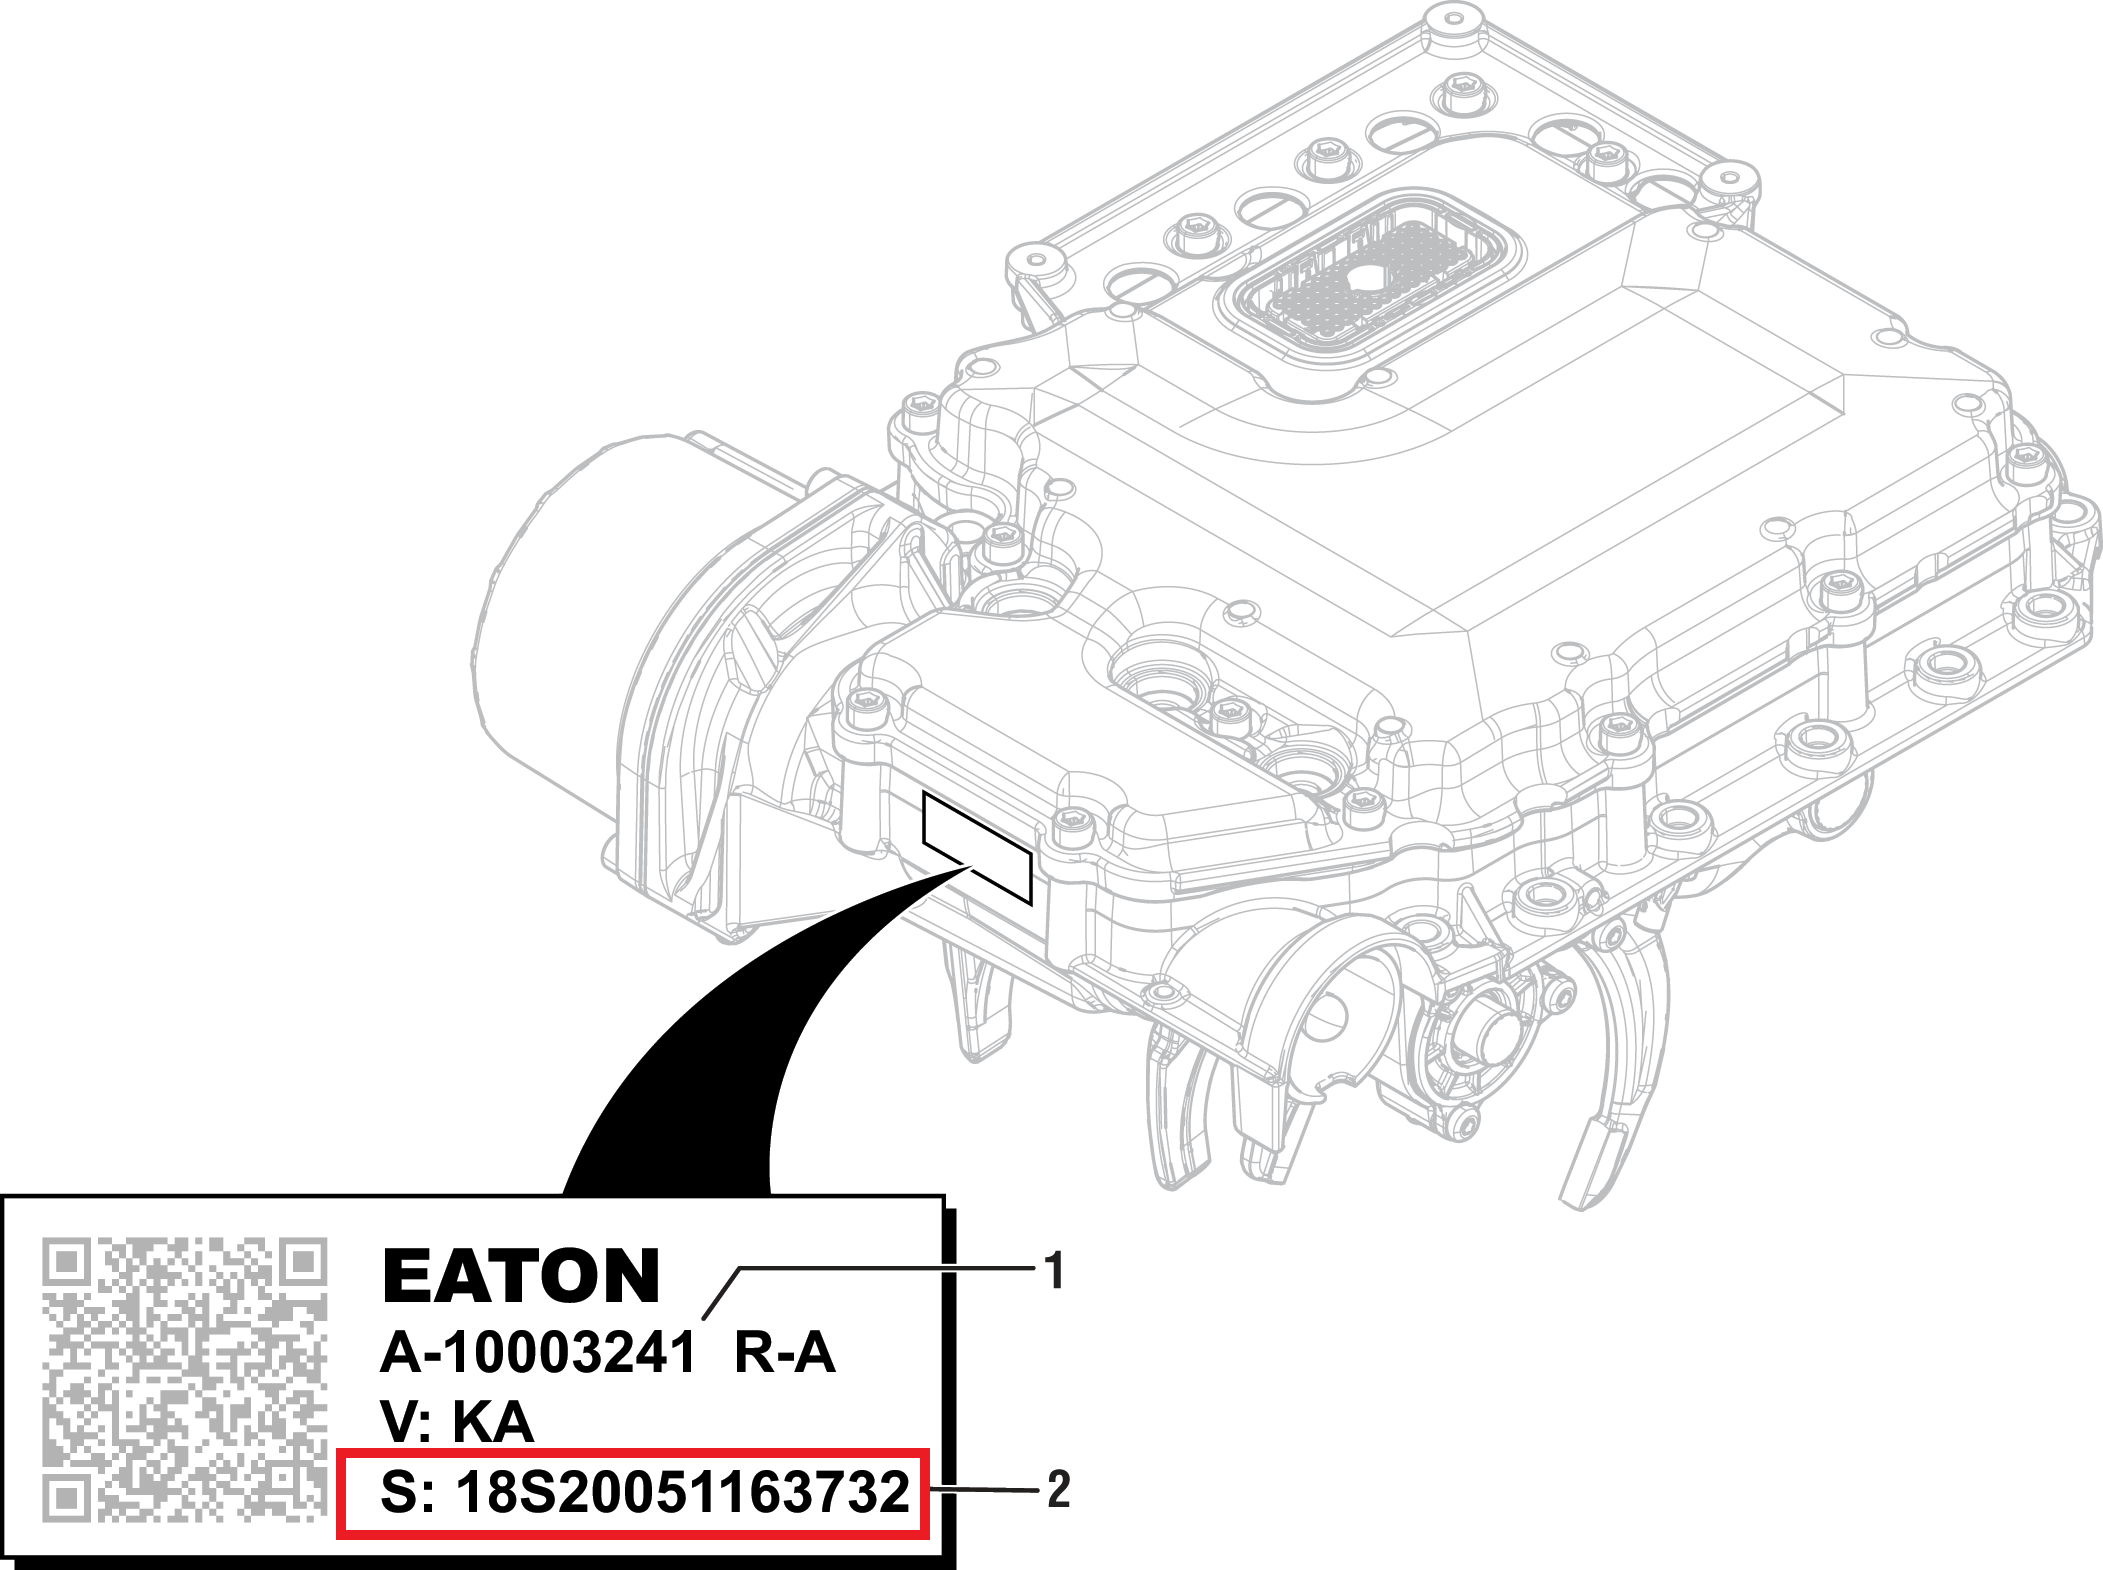
Key on with engine off.
Note: Vehicle display may indicate a flashing “F”, “CC”, or service transmission.
Connect ServiceRanger.
Go To “Configuration”.
Select “Identification”.
In the “Serial Number” parameter “New Value” field enter transmission serial number.
In the “Current MTM Serial Number” parameter “New Value” field enter MTM serial number.
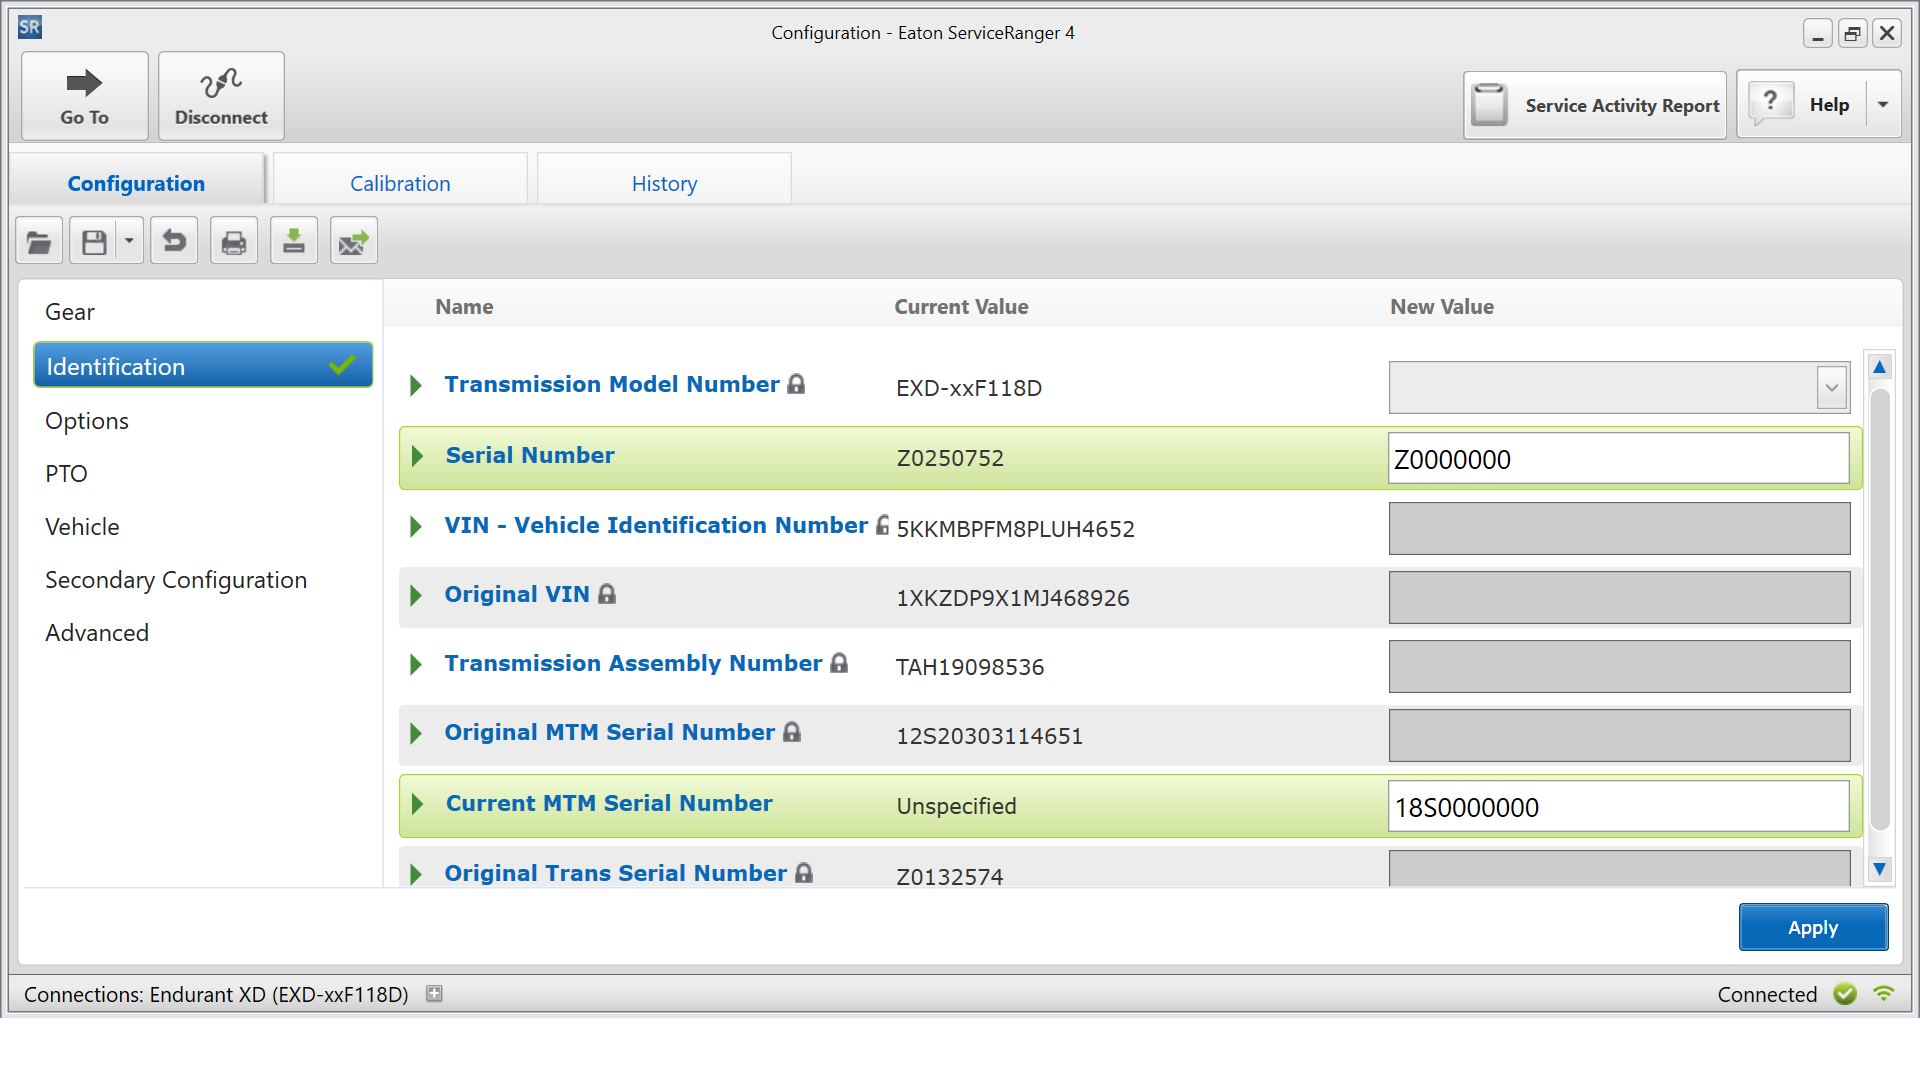
Select “Apply” and follow on-screen prompts.